Why Photo Records Matter Before You File a Claim
Getting a damage or warranty claim started usually means proving what you owned and what shape it was in before anything went wrong. A written list is useful, but photos that show serial numbers, model details, and normal wear give an adjuster a concrete starting point. Trying to gather that evidence after something already broke or disappeared is a scramble most homeowners wish they had avoided. A few pictures saved in advance cut through that stress immediately. The trick is making each photo count by itself so it does not require a detailed explanation later. A dark shot from across the room cannot do much for a claims agent.
You want enough clarity on model labels, visible scratches, and typical setup so their system finds it simple to verify identity and condition. When the damage happens first and then you go looking for your paperwork, it can already be too late for certain types of proof. Good pictures before a loss strengthen an entire submission faster than any single receipt.

What to Photograph for Each Item
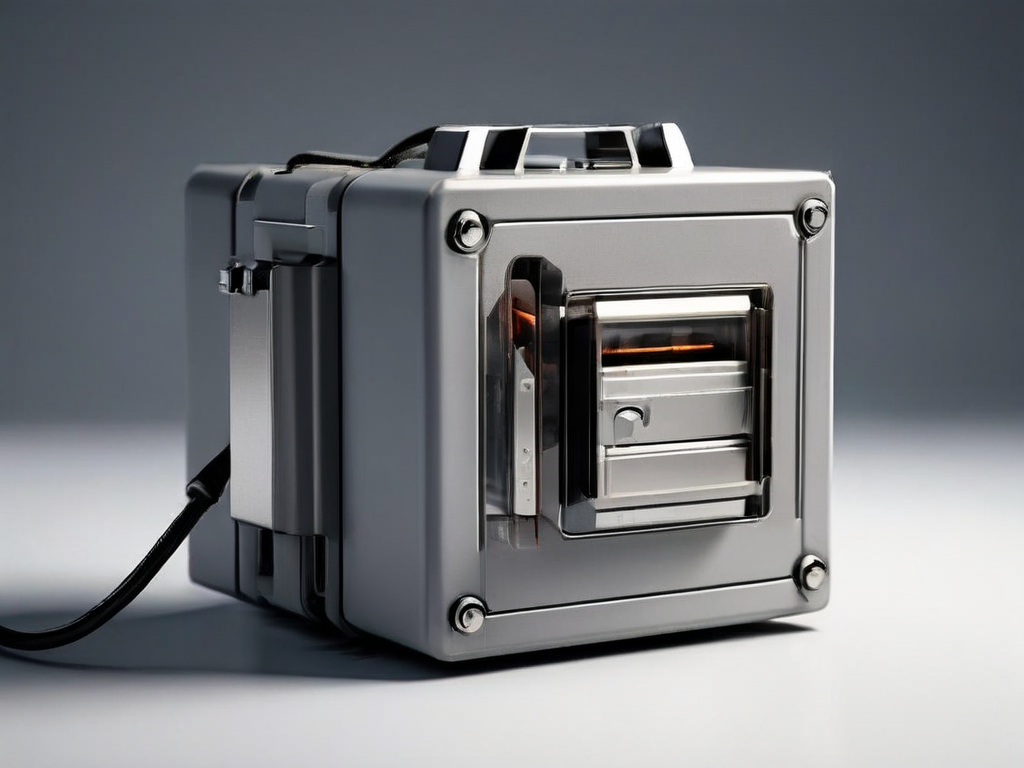
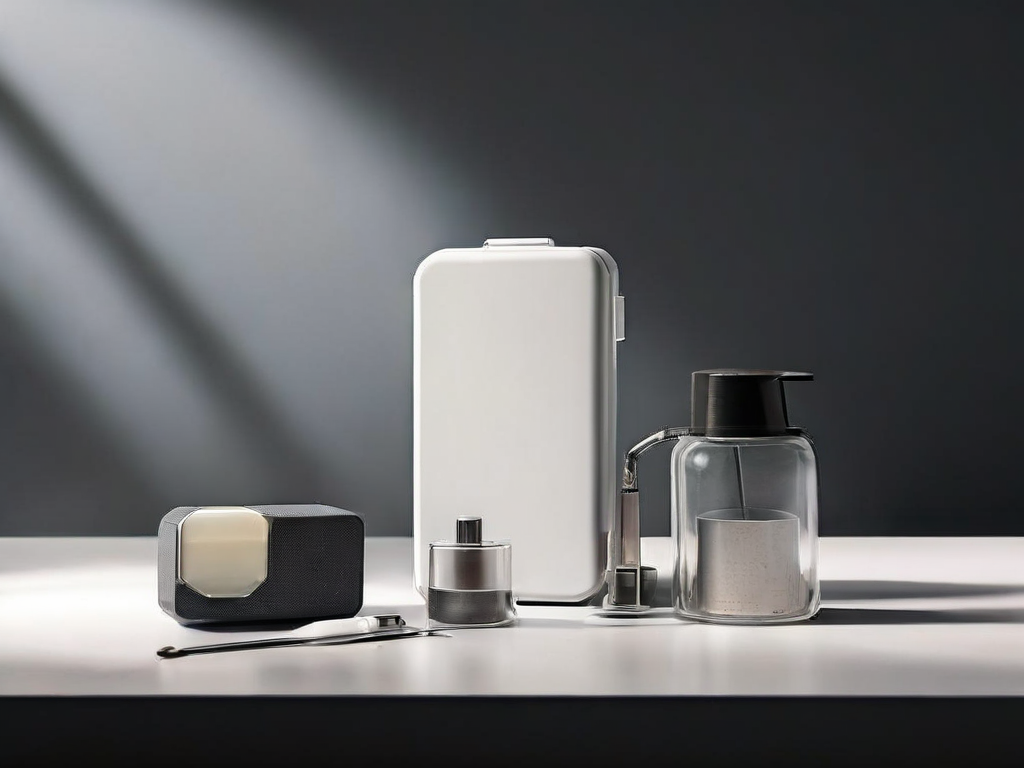
Taking a general photo of an appliance in its usual spot shows a claims examiner that the item actually lived there before the problem occurred. Then move in closer to record brand stickers, model numbers, and serial tags so pairing the claim to the purchase record is straightforward. For electronics, include the cables and expansion ports too. The hardware stack a user adds matters just as much as the main unit when wear affects both. Condition photos must stay honest about minor dings or previous repairs so the company does not accuse you of pinning new damage on an item in poor shape already. Activate a smartphone or tablet screen and snap a work-state image next to a blank screen shot as separate proof of function.
On a large appliance, include its energy tag if it has one that identifies the specific version. People who walk away with even one label skipped often get phone calls asking for clarification on trivial specifications after submitting.
Organizing and Storing Your Photo Records
Saving clear photos is only an intermediate step. Without storage you can actually reach when a device gets fried or fails the next week, that evidence stays trapped in a black screen. Creating a separate directory on the phone or computer with meaningful file names prevents confusion from matching multiple laptop images from different years later. Cloud storage or a small external drive makes sure accidental loss cannot erase everything tied to recent claims history.
Once captured and stored, reviewing each image for sharp serial numbers and clear details verifies what you recorded. Place handwritten notes in the frame if you have multiple identical items, because claim forms punish identification gaps. Consider updating your photo records once a year or after a major purchase so your inventory stays current.
| Check | Visible Label or Detail | Next Action |
|---|---|---|
| Serial or model number | Sticker, engraving, or label on the item | Take a clear close-up; include the full number in the photo |
| Overall condition | Scratches, dents, stains, cracks, or missing parts | Photograph each damaged area from two angles |
| Power or function status | Screen lights up, motor runs, or indicator is on | Take a photo with the item powered on and showing a normal display |
What to Do If You Already Have Damage or a Problem
Damage or failure that has already occurred still needs immediate documentation. Take photos of the item exactly as it is right now, including the damage, the surrounding area, and any visible cause such as water stains or a power surge mark. Even without showing the original condition, these photos serve as evidence of the current state. Check the purchase receipt, warranty card, or online account for the claim filing deadline and required documentation list. Before uploading the photos, rename them with the claim number or item name so the claims team can match them quickly. A written description should be prepared while the photos are still fresh in your mind, as the claim may require one.
Keep a copy of the uploaded photos and the confirmation page or email you receive after submitting. This gives you a record of what was sent and when, which helps if the claim needs follow-up or if the system encounters an error.